
If you have a small space around base cabinets, then cutting the cabinet’s depth makes extra room in your kitchen that helps us to move around the cabinets easily. A shallower base cabinet allows for easier access to the items stored inside.
Cutting down the depth of a base cabinet can be a challenging task. It needs some basic carpentry skills and knowledge. But if you follow this step-by-step guide on how to cut down the depth of a base cabinet? And use the right tools and techniques, it can be accomplished.
To cut down the depth of a base cabinet, we will measure and mark the depth to cut, disassemble the cabinet frame, cut down the depth of the base cabinet that we marked, reassemble the cabinet frame, and reattach all attachments such as doors and shelves.
Tools You’ll Need:
- Measuring Tape
- Pencil
- Safety Equipment
- Circular saw or Table saw
- Electric drill and drill bits
- Carpenter’s glue
- Screwdriver
- Sandpaper
- Level
- Wood putty
- Putty knife
Precautions
Before cutting down the depth of a base cabinet, it’s crucial to take several precautions to ensure safety:
- Safety Equipment: Use safety equipment such as goggles, gloves, and dust masks to protect yourself from dust during the cutting process.
- Measure Twice: Double-check your measurements before cutting to avoid any mistakes.
- Cut Outside the Lines: When making the cut, start slightly outside the marked cutting lines to avoid the short length of the side.
- Stay Focused and Alert: During the cutting process, stay focused and alert to avoid any accidents.
- Hands away from blade: Always keep your hands and fingers a good distance from the cutting blade’s path.
How to cut down the depth of a base cabinet?
It might be challenging to figure out how to reduce the depth of a base cabinet. If you have a little bit of knowledge about using tools and some basic carpentry skills, then you can solve it by following my step-by-step guide.
In this detailed guide, I have explained 7 steps to cut the depth of a base cabinet. Apply the instructions to your cabinet in the exact manner listed below, starting with the first step and ending with the last. Now it’s time to dive into each step in detail.
Step 1: Measure and Mark
The first crucial step is to measure the current depth of your base cabinet accurately. By using A measuring tape, measure the distance from the back to the front of the cabinet. Plan the depth of the cabinet that you want to cut down.
Empty the cabinet before marking the exact depth of the cabinet to cut it down. It will help you to easily mark the desired area accurately. Moreover, it will ensure that your belongings remain safe during the modification process.
Mark the desired area of the base cabinet that you want to cut down. Put a cross sign on it to remember which side you have to cut. Draw straight lines on it to cut the cabinet sides, bottom, and top accurately.
Step 2: Remove Cabinet attachments
To facilitate the cutting process, the crucial part is to remove the attachments of the cabinets. Remove the doors and drawers by using a screwdriver. You can also use a Screw gun with a reversible drive to detach the hinges and handles.
To access the cabinet frame, we need to remove the countertop and baseboard. By using a pry bar and hammer, you can easily remove the baseboard. If you are not a professional, follow the manufacturer’s instructions for the removal of the countertop.
Step 3: Disassemble Cabinet Frame
Now, disassemble the frame of the cabinet to reach the interior of the base cabinet. By using a screwdriver, remove all the screws and other fasteners that hold the frame together. There may be some fasteners hidden with wood putty; find and remove them.
Do this all with extreme care, don’t damage any part of the cabinet frame. You have to reassemble these parts after cutting the depth of the cabinet.
Related post: How to Install Base Cabinets on Concrete Floor?
Step 4: Cut Down the Depth
This step is a little bit difficult, and you have to do it with extreme care, because if you cut the parts irregularly, then it will become a snare for you to reassemble them. Before cutting, wear goggles and gloves for your safety.
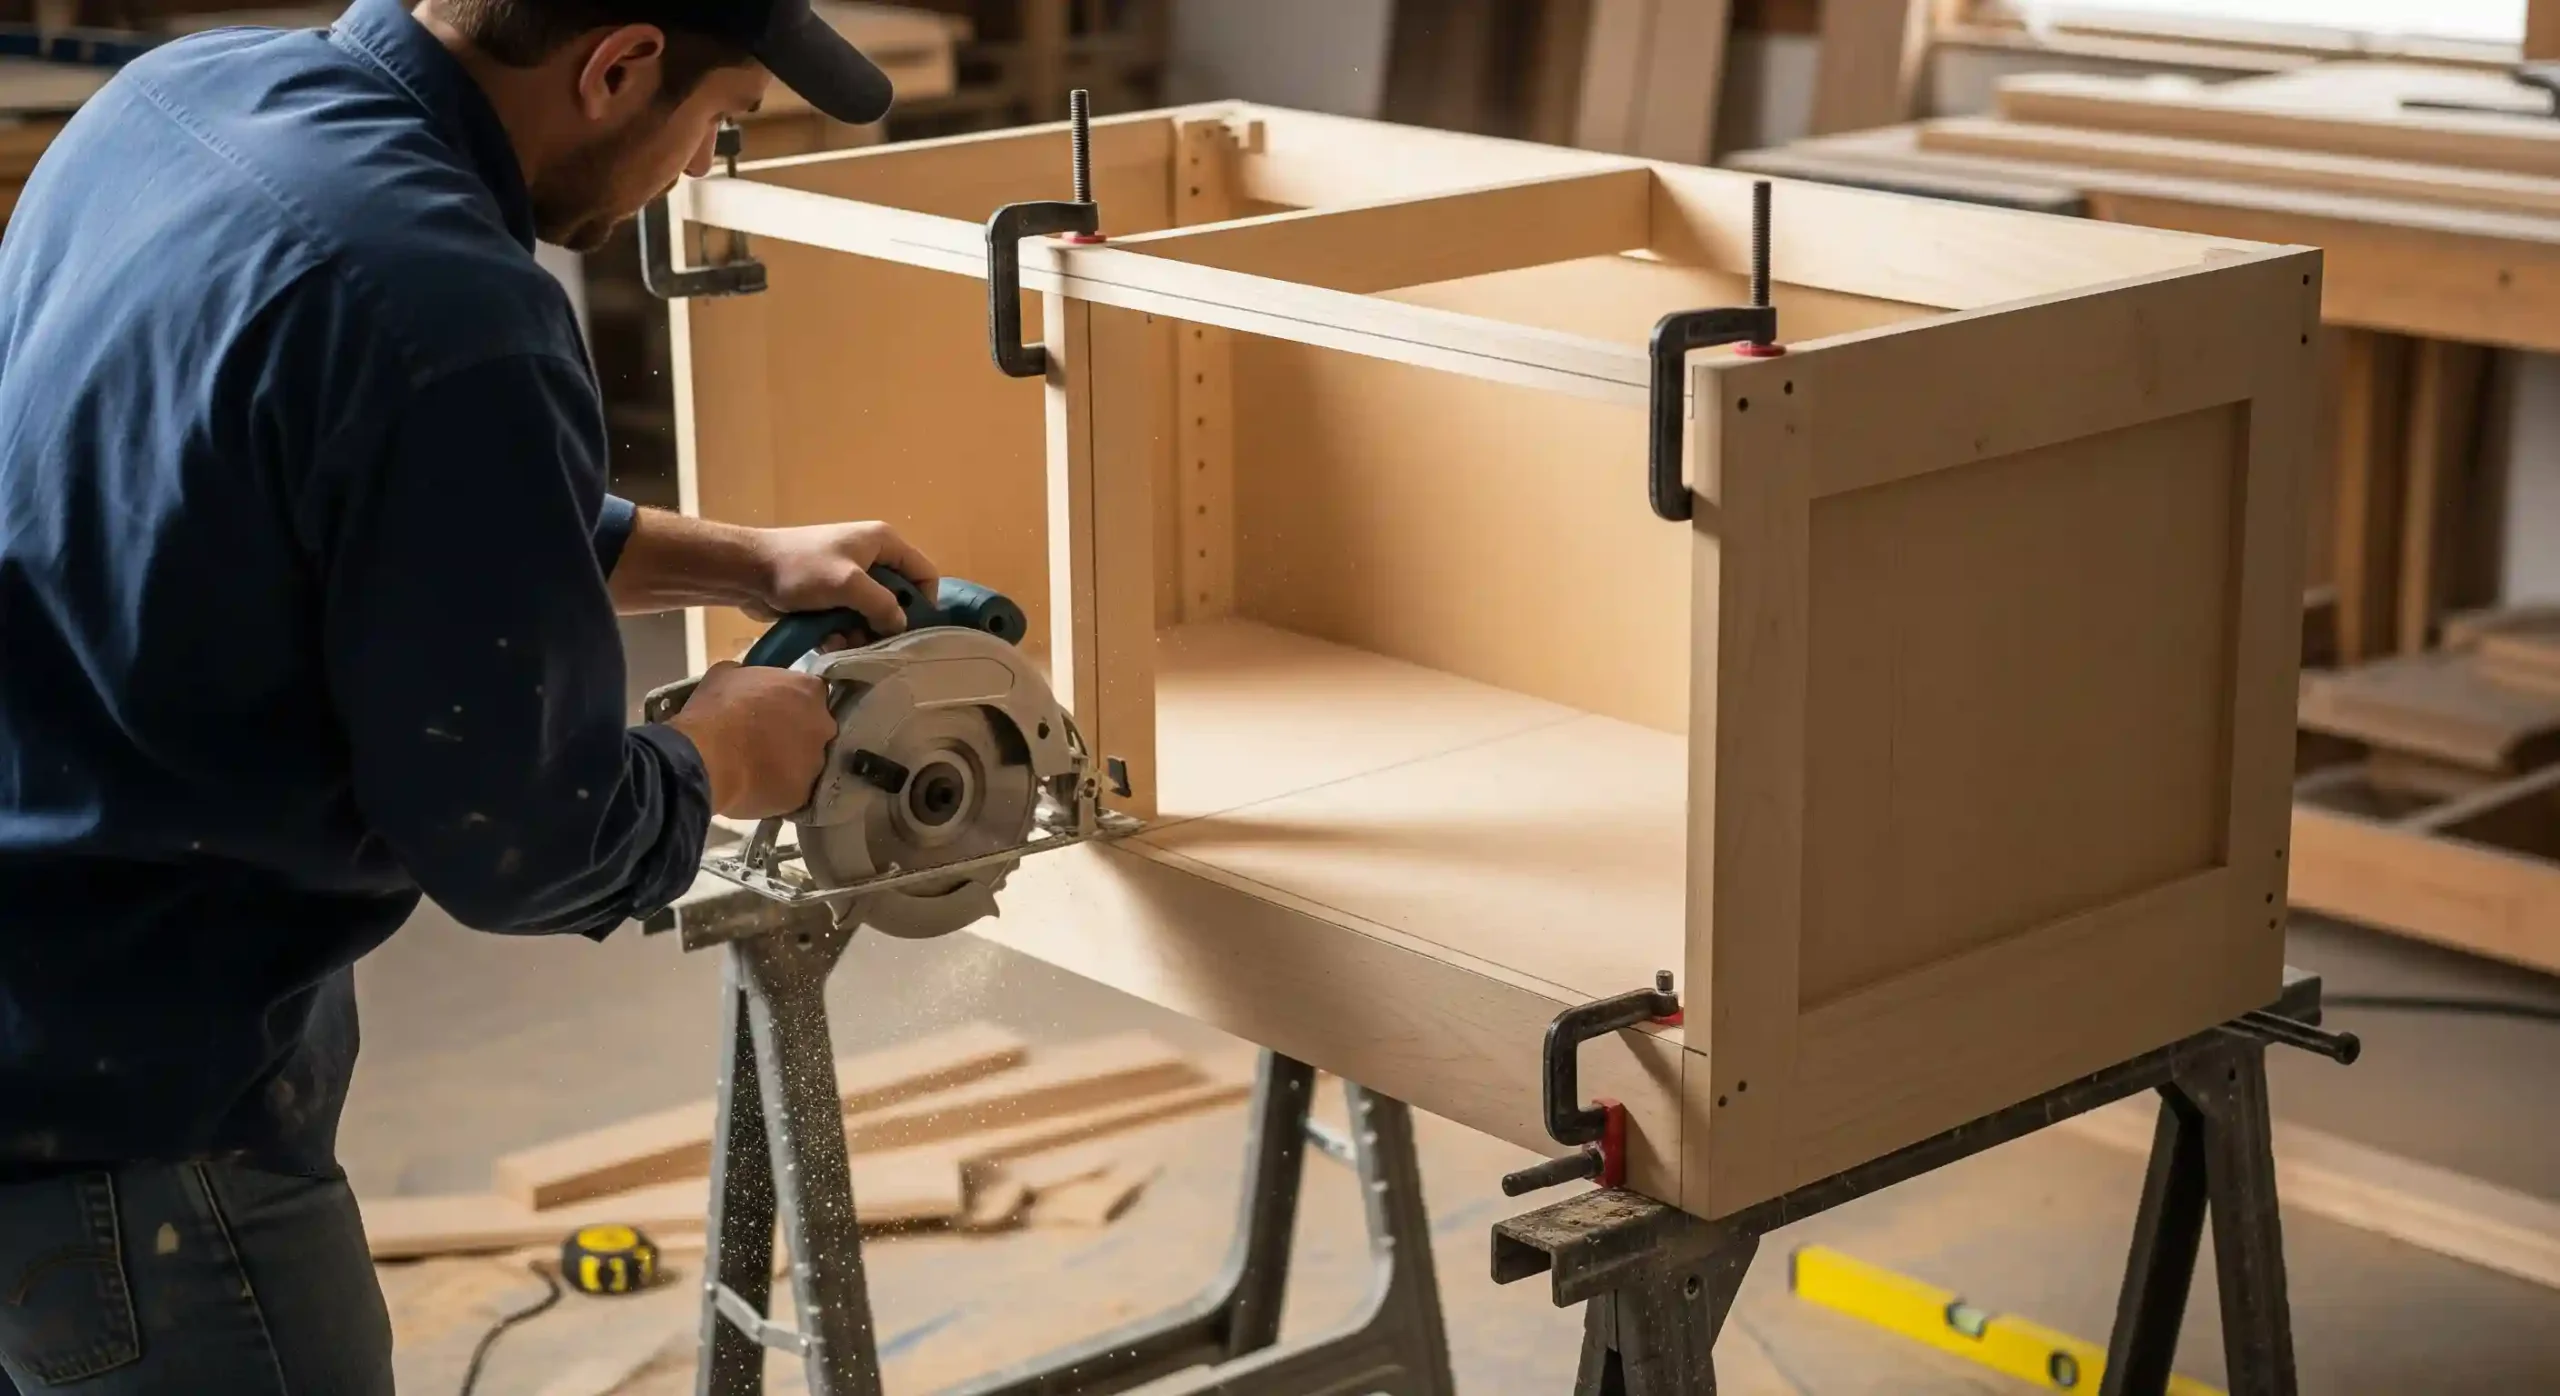
By using a circular saw or table saw, cut all parts, left and right sides, top and bottom, and shelves of the cabinets. Make precise cuts along the lines that you have marked. Cut the cross-out side, not the other side that you have to use.
If there were grooves on the sides of the cabinet that you have cut down, then you can make it again by adjusting the height of the blade with height height-adjusting handwheel.
Step 5: Sand the Sharp Edges
After cutting the parts, sand the sharp edges with medium grit sandpaper to create a smooth and even surface. Sand them smoothly to avoid any splinters or rough spots that could harm the appearance.
Don’t sand them enough, it may cause gaps between the parts of the cabinet after reassembling them. For the placement of shelves, drill some holes at an appropriate distance by using an electric drill.
Step 6: Reassemble the Cabinet Frame
After cutting and sanding all the parts, it’s time to reassemble the parts to make a frame for the cabinet. Align the pieces correctly and use the carpenter’s glue to secure them in place. Check the alignment of the parts by using a level before screwing them.
By using an electric drill or screwdriver, secure them by using screws or fasteners. If you have removed screws beneath the wood putty, then fill these holes again with wood putty.
Step 7: Reattach all attachments
In the last step, you have to reattach all the attachments that you have removed in the second step. Carefully position the baseboard against the cabinet base and fix it by using a nail gun or screws. To attach the countertop, follow the manufacturer’s guidelines.
After attaching the baseboard and countertop, it’s time to reattach the cabinet doors, drawers, and shelves to the frame that you removed earlier.
Lastly, reattach the doors and drawers with the hinges and handles. Make sure the alignment is correct for smooth opening and closing. By using a drill or screwdriver, screw the doors to the hinges.
Related Post: How To Cover Gap Between Cabinet and Floor?
FAQs
How to cut down the width of a cabinet?
To cut down the width of a cabinet, measure and mark the desired width to cut down. Remove cabinet doors and other attachments and disassemble the cabinet frame. Cut the marked width by using a table saw with extreme care. After that, reassemble the parts to the cabinet and reattach the doors.
How to shorten base cabinets?
It’s the easiest way to shorten base cabinets, measure and mark the desired height to cut down. Remove cabinet doors and other attachments and disassemble the cabinet frame. Cut the marked height by using a table saw with extreme care. After that, reassemble the parts to the cabinet and reattach the doors.
How to cut off toe kick from base cabinets?
The most effective way to cut off toe kicks from base cabinets is by using a jigsaw. Measure and draw a straight line along the toe kick where you want to cut. By using a jigsaw, cut the toe kick along the line. After that, sand the edges to remove any roughness and paint it if needed.
Conclusion
The process of cutting down the depth of a base cabinet is not easy, and it becomes more difficult when you try to do it with an appropriate guide. If you are not a skilled carpenter, then you can also do it if you follow the step-by-step guide that I have explained.
If you have followed my instructions, then I am sure that you have done your work without any difficulty. However, if you have any related questions about this post, you can ask us by leaving a comment in the comment box. We will do our best to resolve your problem. GOOD LUCK!