
Orange oak cabinets, a sign of past decades, can feel outdated in a modern home. However, replacing them entirely is not always practical or affordable.
One common issue many homeowners face is outdated orange oak cabinets in their kitchen, bathroom, or living area. These cabinets were once trendy, but now they can make a room look dull and dated.
In this comprehensive guide, I will show you simple ways how to tone down orange oak cabinets to blend the oak cabinets with your interior decor.
Why Do Oak Cabinets Turn Orange?
Before we begin, we must understand why oak cabinets turn orange. The orange hue in oak wood comes from natural aging and oxidation of the original finish. As it ages, tannins react with oxygen and light, darkening the wood and creating warmer tones.
Exposure to sunlight and air can worsen this process, leading the cabinets to appear more orange than when they were first installed.
Moreover, environmental factors such as humidity and temperature changes can further impact the rate of color change in oak cabinets.
Assessing Your Cabinets
Before starting any project, it’s crucial to assess the condition of your cabinets thoroughly. Begin by examining whether they are in good structural shape.
Check if damage, such as scratches and dents, could affect the overall outcome of your project. Consider the material and age of the cabinets, as older ones may require more extensive repairs or refinishing.
By assessing the condition of your cabinets, you can choose the best method to tone down their orange color and address any issues that could affect durability and aesthetics.
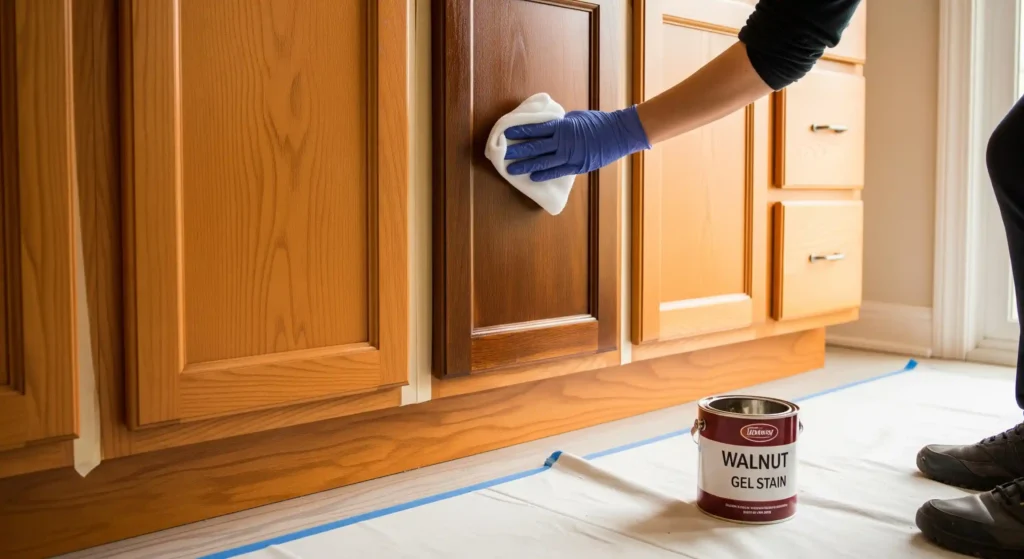
Method 1: Using Wood Stain
One of the most effective ways to tone down orange oak cabinets is by applying the best wood stain. This method allows you to change the color without covering the wood’s natural grain.
Materials Needed:
- Sandpaper (120-grit and 220-grit)
- Wood cleaner
- Wood conditioner
- Stain of your choice (preferably a cool or neutral tone)
- Brushes or rags
- Protective gloves
- Drop cloths or old sheets
- Painter’s tape
Steps:
- Preparation: Start by removing all hardware and doors from the cabinets. Lay down drop cloths to protect your floors and countertops. Clean the cabinets thoroughly with a wood cleaner to remove grease and dust.
- Sanding: Sand the cabinet surfaces lightly with 120-grit sandpaper to remove the existing finish. Wipe away dust and follow with 220-grit sandpaper for a smoother finish.
- Conditioning: Apply a wood conditioner to ensure even stain absorption. Follow the manufacturer’s instructions for the best results.
- Staining: Apply the stain using a brush or rag, following the direction of the wood grain. Wipe off excess stains with a clean rag and allow it to dry. Apply a second coat if necessary to achieve the desired color.
- Finishing: Once the stain is completely dry, apply a clear protective finish to seal the wood to protect it from future wear and tear.
Method 2: Painting
For a more dramatic transformation, consider painting your cabinets. This method completely covers the orange hue and provides a fresh, modern look.
Materials Needed:
- Sandpaper (120-grit and 220-grit)
- Wood cleaner
- Primer
- Paint (semi-gloss or high-gloss works best for cabinets)
- Brushes or foam rollers
- Protective gloves
- Drop cloths or old sheets
- Painter’s tape
Steps:
- Preparation: Similar to staining, begin by removing the hardware and doors, laying down drop cloths, and thoroughly cleaning the cabinet surfaces.
- Sanding: Lightly sand the cabinet surfaces with 120-grit sandpaper to remove the gloss from the existing finish. Follow with 220-grit sandpaper for a smooth surface.
- Priming: Apply a high-quality primer to the cabinets. A good primer will block any stains and provide a solid base for the paint. Allow the primer to dry thoroughly.
- Choosing a paint: When choosing a paint color, consider cooler and more neutral tones. Soft greys, crisp whites, and muted blues or greens work exceptionally well to balance out the warmth of the orange.
- Painting: Apply the paint using a brush or foam roller, following the instructions of the wood grain for a smooth finish. Allow the first coat to dry and then apply a second coat if necessary.
- Finishing: Once the paint is dry, carefully reattach the hardware and doors to ensure everything is properly aligned. If you want to give your space a refreshed look, consider adding new hardware that complements your decor style.
Method 3: Glazing
Glazing is another technique that can tone down orange oak cabinets by adding a subtle color overlay that enhances the wood’s natural grain and creates depth.
Materials Needed:
- Sandpaper (220-grit)
- Wood cleaner
- A preferred shade Glaze
- Brushes or rags
- Clear protective finish
- Protective gloves
- Drop cloths or old sheets
- Painter’s tape
Steps:
- Preparation: Remove hardware and doors, protect the floor with drop cloths, and clean the cabinet surfaces.
- Sanding: Lightly sand the cabinets with 220-grit sandpaper to create a smooth surface, ensuring the glaze adheres properly. Pay special attention to any rough spots or edges. After sanding, thoroughly wipe away the dust with a clean cloth.
- Glazing: Apply the glaze with a brush or rag, working in small sections. Wipe off excess glaze with a clean rag to achieve the desired effect. The glaze will tone down the orange hue and highlight the wood grain.
- Finishing: Once the glaze is dry, apply a clear protective finish to seal the glaze and protect the cabinets from wear.
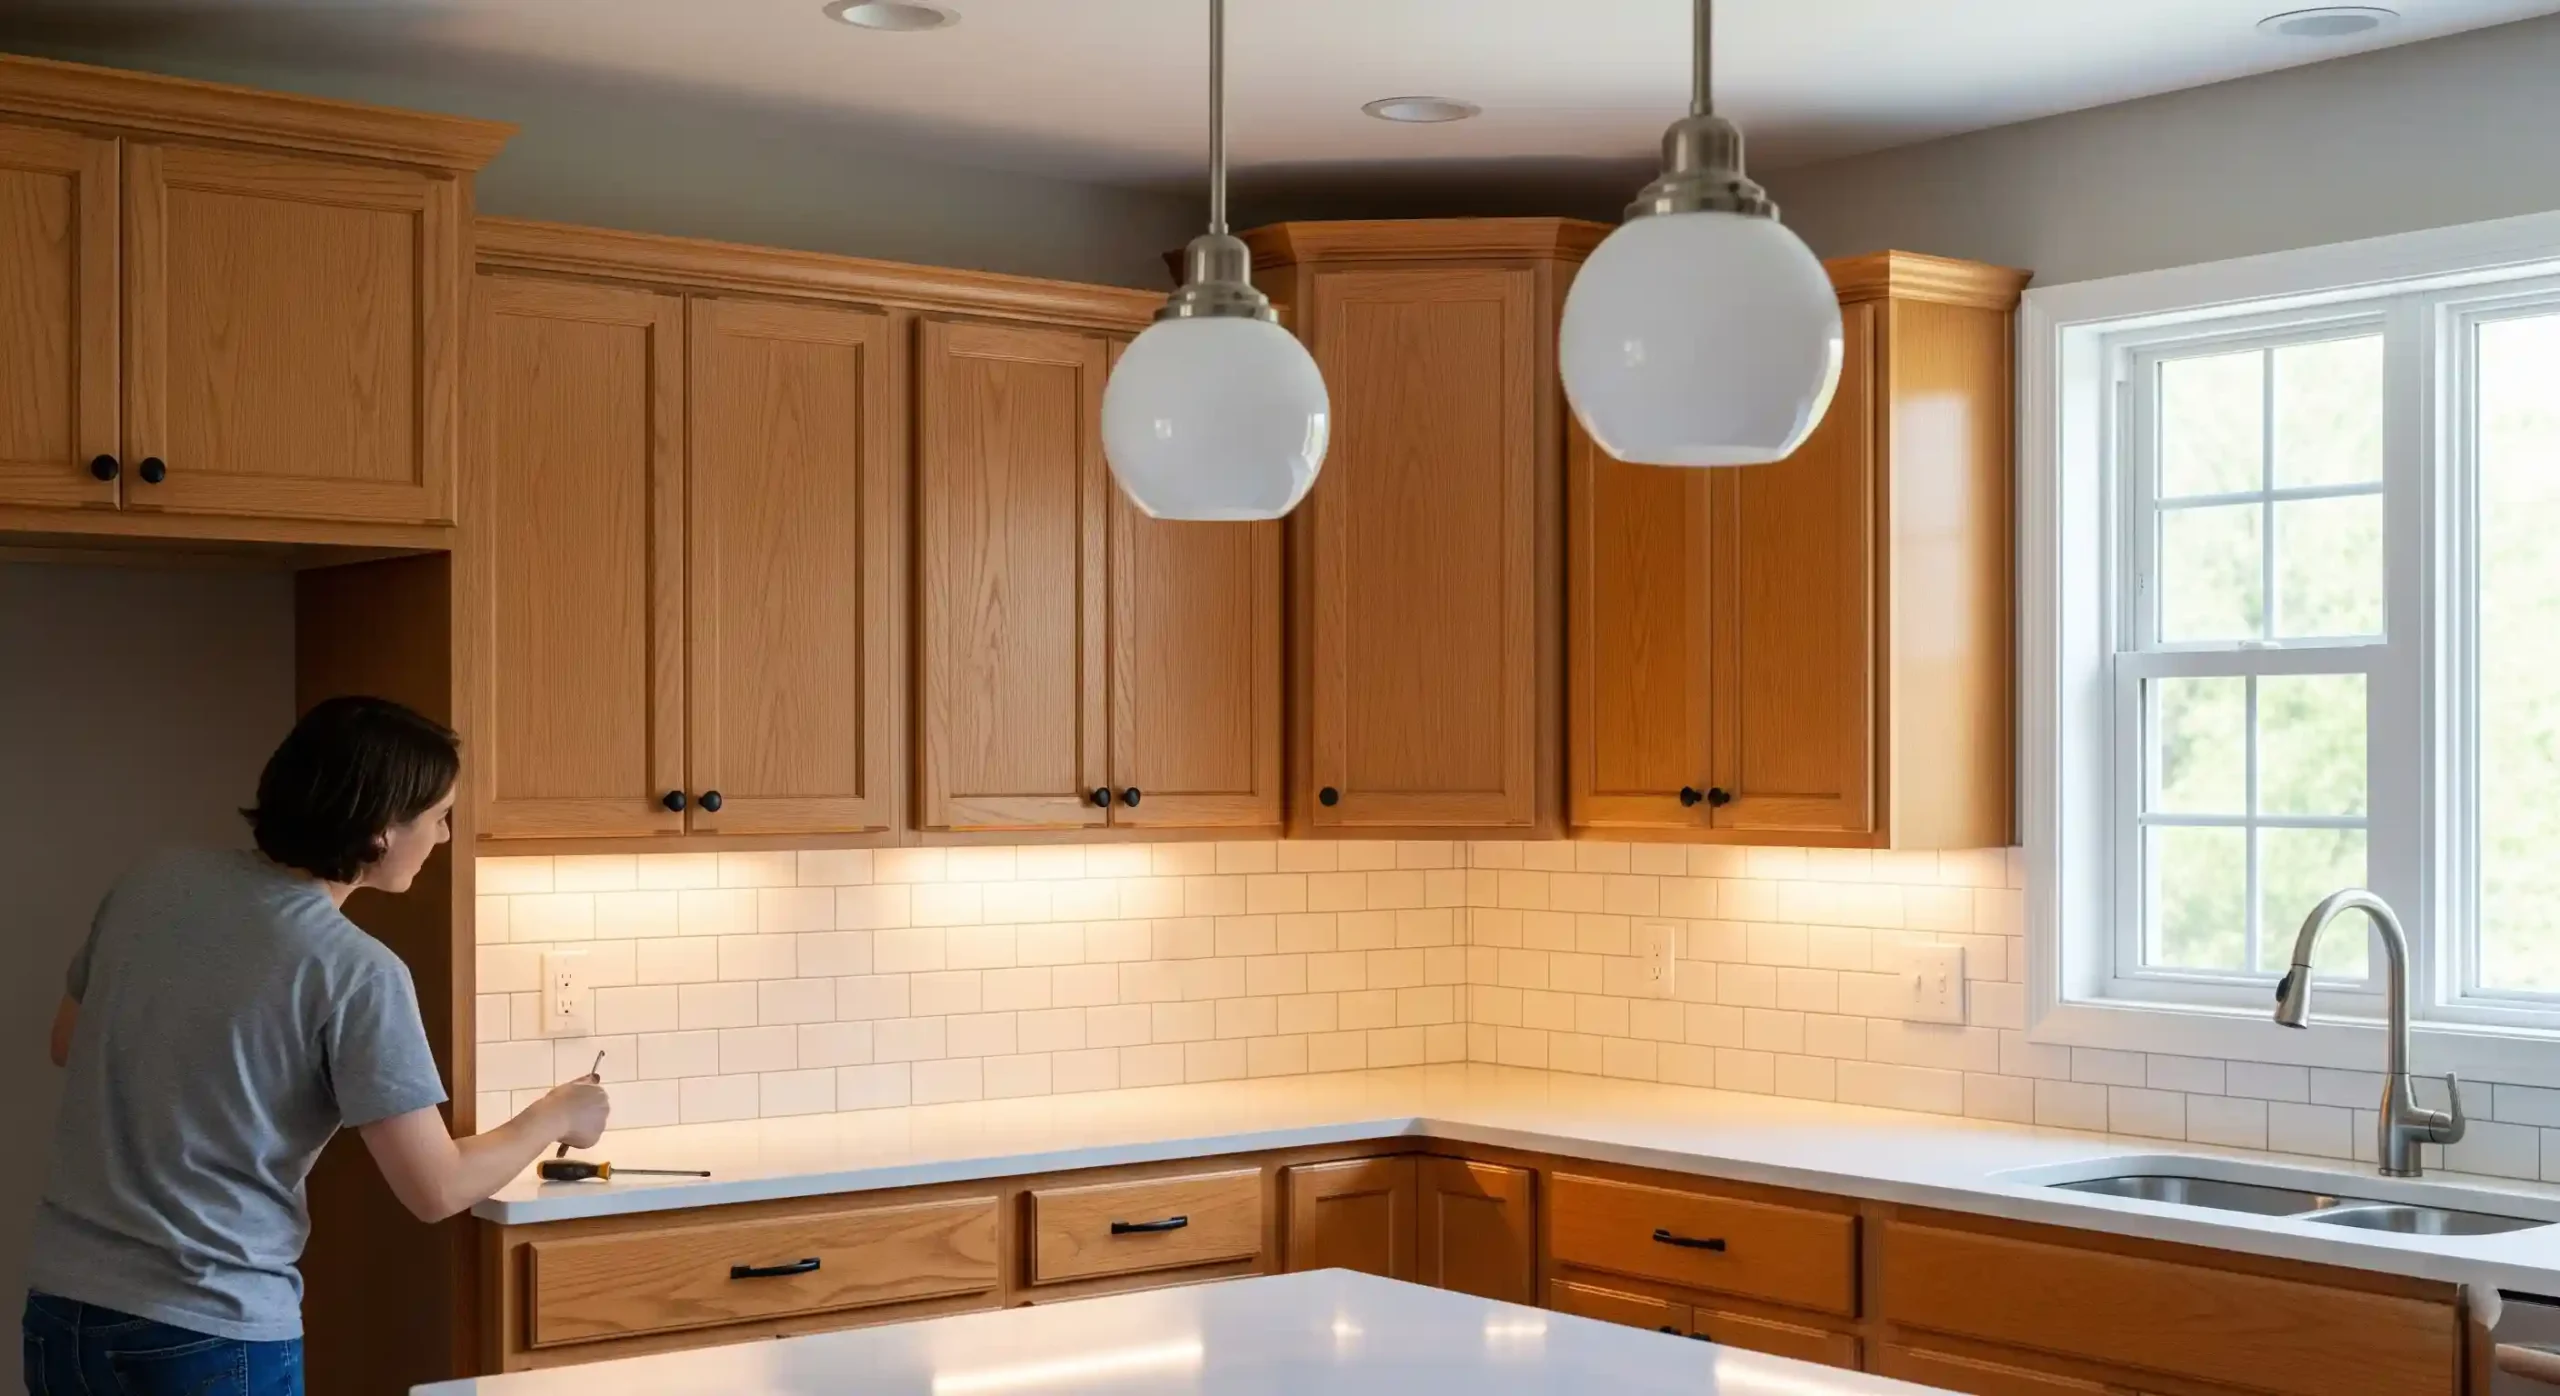
Method 4: Adding Decorative Elements
Sometimes, adding decorative elements to your kitchen can help draw attention away from the orange hue of oak cabinets.
Ideas:
- Backsplash: Installing a new backsplash in a neutral or cool tone can balance the warm tones of the cabinets. New backsplash not only enhances the overall aesthetic of your kitchen but also provides a fresh, modern look.
- Hardware: Replacing old hardware with modern, sleek options can significantly update the overall look of your kitchen.
- Lighting: Adding under-cabinet lighting or pendant lights can create a contemporary feel and distract from the cabinets’ color.
- Countertops: Consider updating your countertops to a quartz material that complements the toned-down hue of the cabinets.
Related Post: How to Remove Decorative Molding from Cabinet Doors?
Final Thought
Toning down orange oak cabinets is a doable DIY project that can really change the look of your kitchen. Whether you decide to stain, paint, glaze, or add decorative elements, each method offers a unique way to update your space without needing a full renovation.
Remember, the secret to a successful transformation is thorough preparation and careful execution. Take your time with each step, and you’ll be rewarded with a fresh, modern kitchen that feels brand new.
FAQs
What colors tone down orange wood?
Neutral colors like gray, white, and black can tone down the orange hue of wood. Cool tones like blue or green can also balance warm tones. Adding a darker glaze can help too.
Can I paint over oak cabinets?
Yes, you can paint over oak cabinets. However, it is important to properly prepare the surface by sanding and priming before applying paint. Additionally, consider using a high-quality paint specifically designed for cabinets to ensure long-lasting results.
Can I paint over orange oak cabinets without sanding?
You can paint over orange oak cabinets without sanding by using a deglosser and a bonding primer. Ensure the cabinets are clean and follow all preparation steps for a durable finish.
Will glazing completely cover the orange hue?
Glazing will tone down the orange hue, but it may not completely cover it. If you want a more drastic change, consider painting your cabinets instead.