
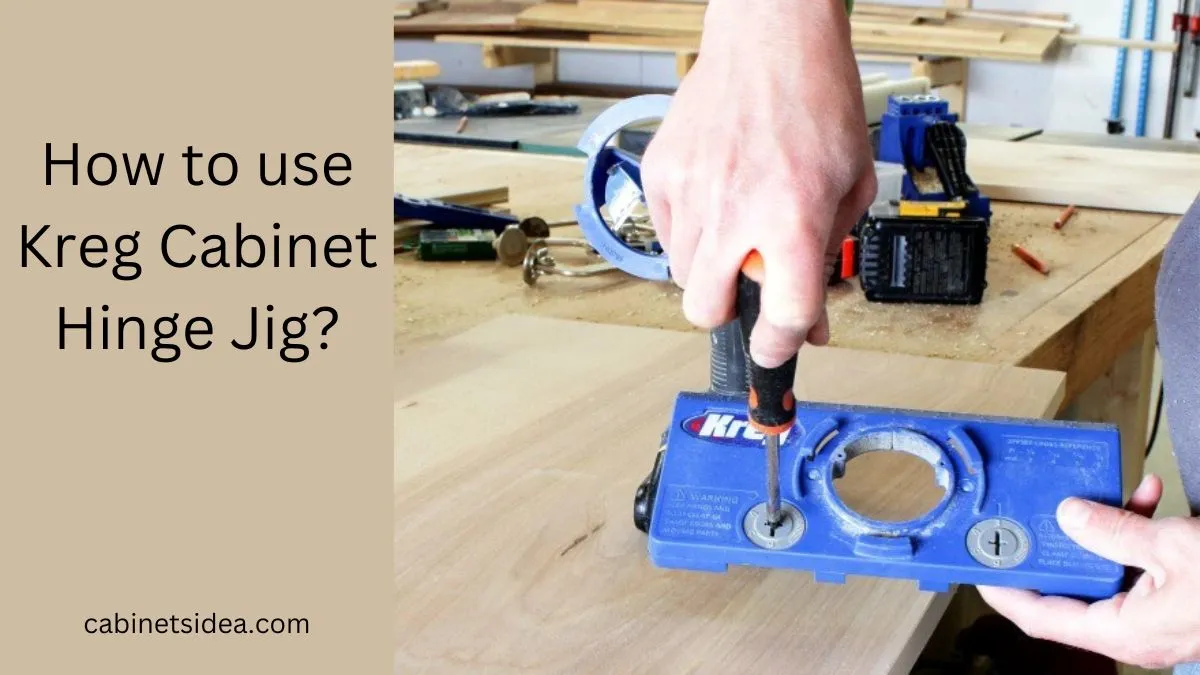
Installation of door hinges becomes more easy if you have a hinge jig. This jig helps to find the exact placement of the hinge on the door. By using a hinge jig, You can install concealed hinges without any error.
Kreg Hinge Jig is one of the popular choices to install hinges perfectly. But, it’s not as easy to use as it sounds. Like me, many others also don’t know how to use Kreg concealed hinge jig.
If you also need to know how to use Kreg cabinet hinge jig, this step-by-step guide will lead you to use the Kreg hinge jig to install your concealed hinges precisely.
Safety Precautions
Before we dive into the step-by-step guide, there are some safety precautions to avoid any accident. Must ensure your safety first and then do your work.
Protective Gear: Must wear safety goggles to protect your eyes from debris during the drilling process and wear gloves to protect your hands from sharp bit edges and moving parts.
Secure the Jig Properly: Before drilling, secure the jig properly with the help of clamps. A loose or unstable jig can lead to inaccurate drilling on the door and can be a safety risk.
Read the User Manual: Read the user manual that comes with the Kreg jig to understand the manufacturer’s instructions for safe and effective tool operation.
Step-by-Step Guide
This step-by-step guide will lead you from the use of the Kreg cabinet hinge jig to the installation of the cabinet hinge. Read each step with extreme care and take your time to install cabinet hinges perfectly.
Measure and Mark
Measure and mark the exact location on the cabinet door where you want to install cabinet hinges. If you don’t know where to install a hinge on a cabinet door, you can install hinges four inches from the top and bottom of the door.
By using a square, draw a straight line on the marked door hinge points. This line will determine where the index line of the jig will be placed. Take your time to avoid errors later in the process.
Adjust Edge Indexers
On your Kreg hinge jig, you will find two adjustable cams that work to adjust how far you want to drill the hinge from the door edge. You can adjust them by twisting them with the help of a screwdriver.
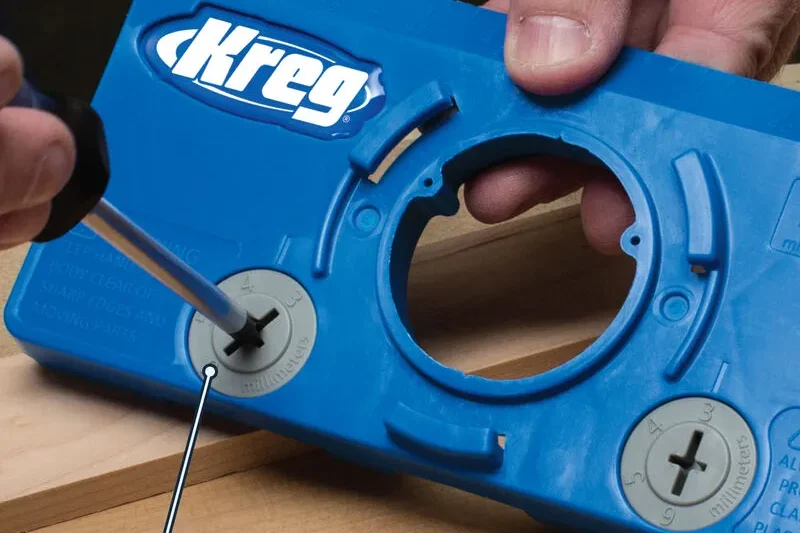
You can adjust them from 3mm to 6mm far from the door edge. Read the manufacturer’s instructions for your cabinet hinges to ensure perfect drilling of the cup of hinge.
Kreg Jig Base Placement
After adjusting the cams on the jig base, it’s time to place the jig base on the cabinet door. You will find an index line on the jig base. Align this index line or center line to the line that you have marked on the door for the hinge installation.
Once the jig base is placed precisely, tightly secure it by using a pair of clamps. A loose jig base can be misplaced while drilling and can become a headache.
Related Post: How To Install Inset Cabinet Hinges? Step By Step Guide
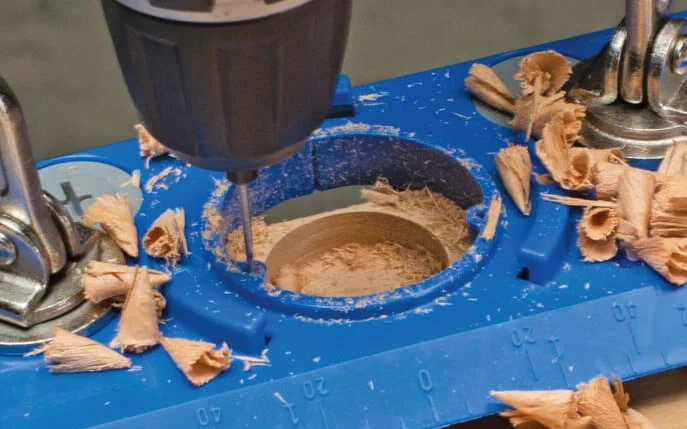
Drill Hinge Holes
Turn the Drill Guide counterclockwise and remove it from the jig Base. Now, insert the concealed drill bit into the drill guide and tighten the stop collar on the shoulder of the shaft by using a hex wrench. This stop caller will determine the depth of the cup hole.
Now bore the cup hole for hinge installation which depth will be 5-6 mm. You can adjust the depth by tightening the stop collar up or down on the shoulder of the shaft.
Before removing the clamps, you have to pre-drill two hinge pilot screw holes on the cabinet door. Most hinges screws need a 1/16″ pilot hole. By using a 1/16″ bit, drill two screw holes to the appropriate depth.
Install Cabinet Hinge
Once the drilling has been completed, it’s time to install concealed cabinet hinges. Place the cabinet hinge on the cup hole and check if it sets completely in it.
Screw the hinge on the cabinet door and attach the door to the cabinet box. check the functionality of the cabinet door after the door is installed completely. It may need some hinge adjustment to work perfectly. Do this hinge adjustment and your cabinet is ready to use.
Related Post: How To Adjust IKEA Cabinet Hinges? 3 Simple Ways
Final Thought
Kreg cabinet hinge jig is very helpful, especially when you do not have any installation template with your hinge. If you do not have professional woodworking skills, you can do it with a Kreg hinge jig easily.
Now after reading this guide, if you are familiar with using a Kreg cabinet hinge jig, you can drill holes on your own and save your money. GOOD LUCK!
FAQs
What is a Kreg hinge jig used for?
A Kreg hinge jig is a tool designed to facilitate the installation of hinges on doors and cabinets. The jig can help to ensure that the hinge is positioned correctly to prevent the misalignment of the door after installation.
Can you use a Kreg jig on plywood?
Yes, you can use a Kreg jig on plywood. Kreg jig can be used to create strong and secure joints in plywood. Kreg hinge jigs can make it easy to install hinges on doors.
Can you use a Kreg jig on mitered corners?
Yes, you can use a Kreg jig on mitered corners to join the pieces of wood together. When using a Kreg jig on mitered corners, you will need to adjust the angle of the jig to match the angle of the mitered cut.
Can I use regular wood screws with a Kreg jig?
Yes, you can use regular wood screws with a Kreg jig. Once you have created the pocket holes with the Kreg jig, you can use regular wood screws to secure the pieces of wood together.
How thick of wood can you use with the Kreg jig?
Must ensure that the jig you are using is compatible with the thickness of the wood. Most Kreg jigs are designed to work with wood that is between 1/2 inch and 1-1/2 inches thick.