
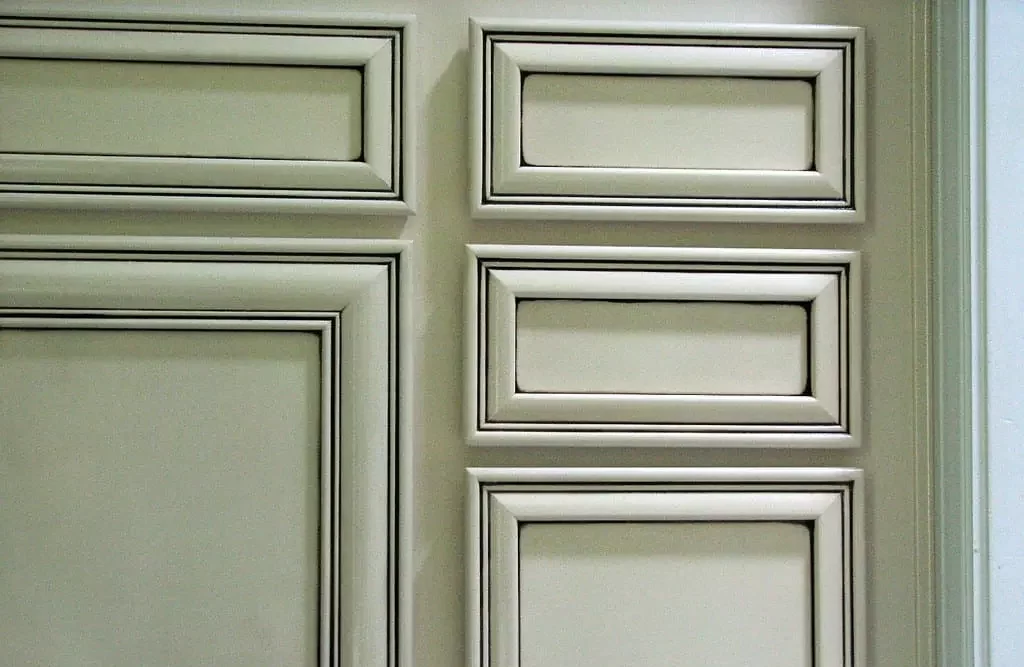
Decorative molding on cabinet doors is a simple method to give aging cabinets a more refined appearance. However, concerns about how to remove decorative molding from cabinet doors without damaging them arise, when it comes to removing molding or trim from cabinets.
You can remove molding or trim from any furniture simply by starting prying it off, from a start or end point of molding or trim with a Putty knife. Once you open a little gap, put a pry bar to lever the molding away from the cabinet or any other furniture.
Removing decorative molding or trim from cabinet doors or any other furniture might seem like a daunting task, but with the right tools and techniques, it can be a manageable DIY project.
How to Remove Decorative Molding from Cabinet Doors?
In this guide, we will walk you through the step-by-step process of removing decorative molding from cabinet doors. To make the process more manageable, remove the cabinet doors from the hinges.
This will give you better access to the molding and prevent any accidental damage to the doors. Ready to dive into the step-by-step guide?
Tools and Materials
Before you begin, collect the necessary tools and materials:
- Utility knife
- Pry bar
- Hammer
- Wood putty
- Sandpaper
- Paint
Start Prying from the Edge
Find the edge point (start or end) to start prying the molding. Insert a utility knife and gently pry it. After you find a little gap, insert a pry bar and start prying along the molding or trim, until the piece pops free.
You can do this process for removing molding or trim from any type of furniture. Don’t pry against the cabinet directly, place a wooden block or soft plastic between the pry bar and the cabinet to avoid any gouges that you may cause accidentally.
Remove any Nails or Adhesive
By using a nail puller, remove any nails or pins that may left behind after removing the molding or trim. Do it with extreme care to avoid any dents or gouges on the surface of the cabinet.
If the decorative molding was attached to the cabinet with the help of adhesive, if the adhesive is not stubborn you can remove it by sanding the surface.
However, if the adhesive is stubborn, soak a cloth in a solution of vinegar and water (1:4 ratio) and gently rub the surface in a circular motion.
Smooth and Sand the Surface
If the molding or trim is attached to nails, there will be some nail holes left behind. By using wood putty, fill these nail holes. It will smooth the surface of the cabinet door.
When the wood putty thicks, sand the surface by gently rubbing 120-grit sandpaper in a circular motion. It will help to create a smooth, even surface for painting.
Repaint the surface
If you plan to paint or stain the entire cabinet, now is the time to do so. Follow the same sanding and finishing steps for the cabinet frames.
However, if you want to replace this molding or trim, first install new trim and then repaint the cabinet door. After your paint or stain has dried, reattach the cabinet doors to their hinges. Ensure they are properly aligned and secure.
How to Remove Crown Molding from Cabinets?
If you’re looking to give your kitchen a fresh new look, one of the first things you might consider is removing the crown molding from your cabinets. However, removing crown molding is not an easy process. You can accidentally damage the cabinet or ceiling.
To remove crown molding without damaging the cabinets or ceiling, You may need a helping guide That’s why I have written a step-by-step guide to do it perfectly.
1. Examine the crown molding to determine how it’s attached to the cabinets. Most crown molding is secured with nails, and caulk to fill small gaps.
2. Locate the nails that secure it to the cabinets. They are typically located along the top edge of the molding.
3. Break the caulk by using a utility knife to pry the crown molding. After that, insert the knife into the gap from where you have removed the caulk and pry the molding slightly.
4. Pry the Molding after you find a little gap and start prying along the molding or trim until the piece pops free. Avoid any gouges that you may cause accidentally.
5. Sand rough edges on both the molding and cabinets by using 220-grit sandpaper. Clean the surfaces to prepare them for refinishing or painting.
How to Remove Glued Cabinet Trim?
Removing a glued cabinet trim from cabinets or any other wood is a simple process. If you have a little bit of knowledge about using tools and have a perfect guide then you can do it easily.
1. Use distilled white vinegar to soften the glue from the wood. Fill a spray bottle with distilled white vinegar and allow the vinegar to set into the glue for 15 minutes.
2. Pry trim by using a putty knife or pry bar from one corner point(start or end) of the trim. Don’t pry against the cabinet directly, place a wooden block or soft plastic between the pry bar and the cabinet to avoid any gouges that you may cause accidentally.
3. Apply slow and steady pressure to pry the trim away from the cabinet. Continue this process along the entire length of the trim.
4. Sand the surface by using 120-grit sandpaper to remove any residue after removing the trim. This will help keep the glue soft and make removal easier.
How to Remove Scalloped Trim from Cabinets?
Scalloped trim can add a charming touch to your cabinets, but if it no longer suits your style, you’ll need to know how to remove it properly. This guide will take you through the process step by step to ensure a successful removal.
1. Measure the scalloped trim to ensure an aligned cut of the scalloped trim. Mark the point where you want to cut the scalloped trim.
2. Cheack the level of the marked points by using a 4-foot level. If both points are level draw a line that joins both points,
3. Cut the scalloped trim by using a jig saw along the line that you have drawn. For safety, make sure to wear goggles and gloves before doing it.
4. Sand the surface of the cabinet by using 220-grit sandpaper after removing the scopelled trim. Clean the surfaces to prepare them for refinishing or painting.
5. Repaint the cabinet surface to gain a furnished and aesthetic look of the cabinet. If there is any damage to the trim or cabinet, use wood filler to make repairs. You can then proceed with refinishing the trim or cabinets as desired.
Related Posts:
Final Thought
The process of removing Decorative Molding, Crown Molding, Glued Cabinet Trim, and Scalloped Trim is almost the same. By following this guide, you can not only remove them from cabinets but also can remove any type of wooden furniture.
I am sure you will remove any kind of trim or molding if you follow my instructions in the detected flow. Moreover, if you have any related questions, ask us by leaving a comment in the comment section below. Thanks!